Houdini Made Easy - Step 02
The Geometry Essentials Collection
Houdini Geometry Essentials 04
Attributes in SOPs & VOPs
What You’ll Learn
Houdini is full as a centipede’s sock drawer with tools you can use to create incredible artwork. By now, if you’ve taken the previous courses in this series, you know that attributes are the driving force behind everything in the geometry context. Well, your skills in proceduralism are about to take off. In our biggest course yet, we’re stepping you through fundamental and powerful SOPs and VOPs workflows.
First, it’s all about using attributes to drive parameters on geometry level nodes – aka SOPs. We’ll have you tapping into the real power of attributes, generating them, modifying them, and then using them to control anything you like. That’s where VOPs come in.
We’re sure you’ve heard a lot about VEX, but do you really need to learn to write VEX code to start using Houdini? The short answer is no. We’ll get to VEX in more detail soon, but here we’ll show you how you can do all you need and more using a little thing called VOPs. A brilliant intro to VEX, VOPs are a visual way of using VEX to manipulate attributes and modify geometry. Down the track, you’ll be using them to build shaders and materials, make textures in COPs, and work wonders in other contexts, too. Huzzah!
Current Course
We’re currently rolling out this course, which means there’s more awesome content still to be announced! Buy it now to get 40% off the full course price. You’ll get immediate access to all the sections we’ve already released, as well as all the remaining sections the second they’re live.
Course Syllabus
Let’s talk details
Section 01
Referencing Attributes in Parameters
Different nodes have different ways of using attributes to drive parameters. But don’t let that confuse you – there’s a simple method you can use within any parameter to access any attribute value. The secret? Expression functions. We’ll break down their anatomy and make it easy to use them in your own work. We’ll also dive into paths to other nodes, explaining the differences between absolute and relative paths and when to use one over the other.

Lessons
1.Using @attribute Notation Within Parameters
2. @attibute on Newer Nodes and in Group Parameter Fields
3. Accessing Detail Attributes Using an Expression Function
4. Using an Expression Function to Access Primitive Attributes
5. The Benefit of Using Relative Paths
6. When it's Better to Use Absolute Paths
6 Tutorials 33 Minutes
Section 02
Using Attribute Expressions
Roll up your sleeves, we’re getting to work! This section is all about seeing those expression functions in action through a classic Houdini geometry workflow, and bolstering your previous learnings on primitive types and global variables. Generate an attribute using one node, then use that attribute to drive the parameters of another. But who has time to manually enter expressions? Let’s generate them automatically with the nifty reference menu.

Lessons
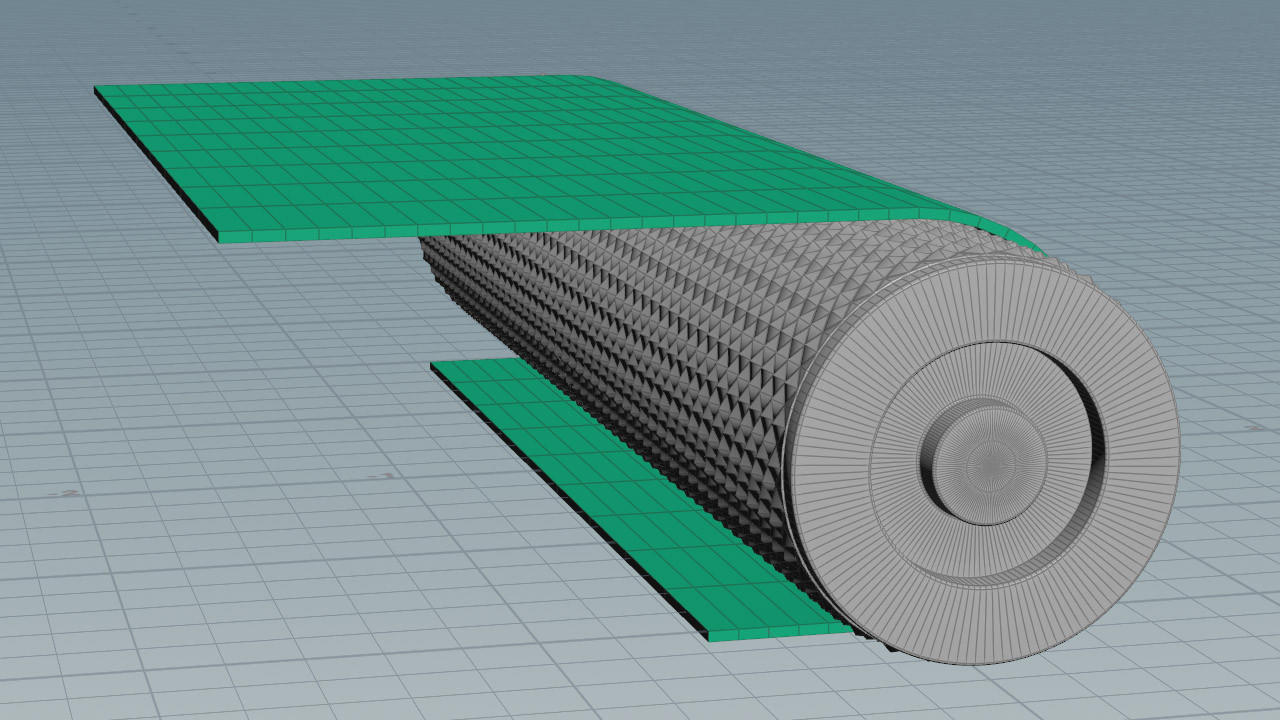
1. Creating the Geometry
2. Calculating the Circumference Using the Measure Node
3. Creating the Rotation to Linear Motion Expression
4. Deforming the Sheet Around the Roller
5. Testing and Animating The Setup
5 Tutorials 20 Minutes
Section 03
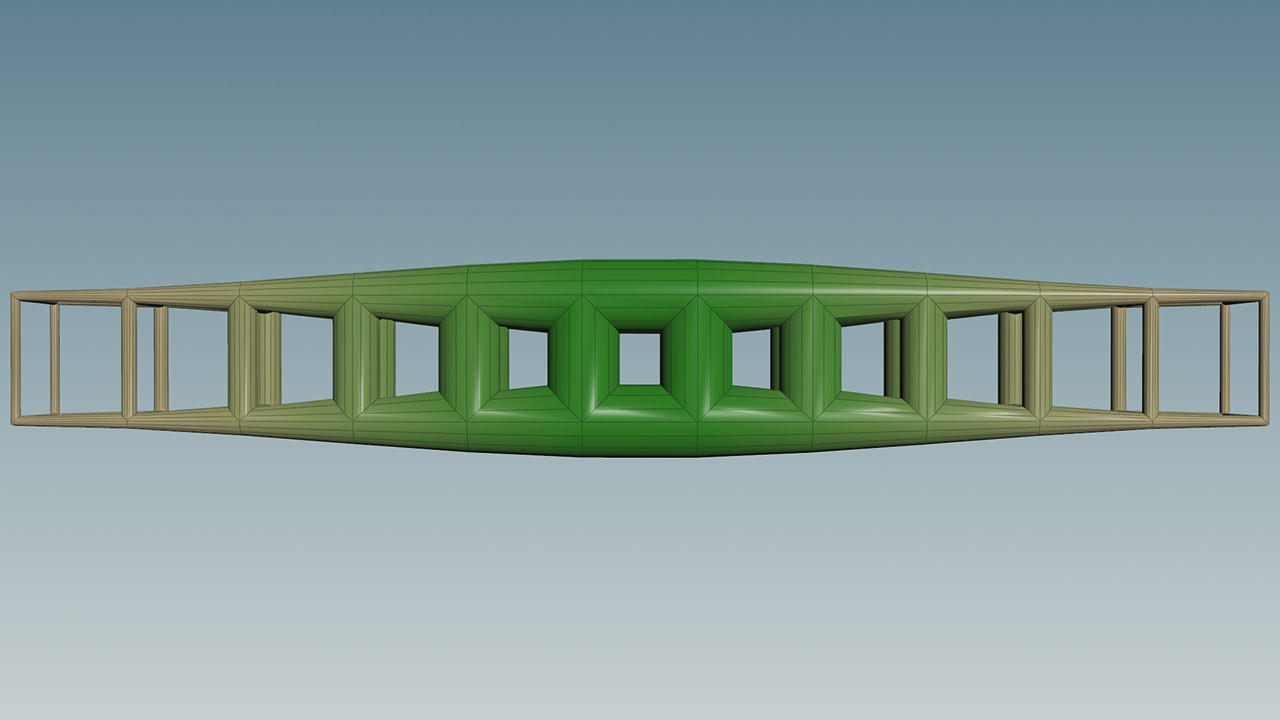
Scaling Parameters by Attributes
If you’re learning Houdini so you can wow with motion graphics, effects or modelling, this section covers a stack of truly essential techniques, like how you can use attributes to operate on different components by differing amounts. With things like generating gradients of values, harnessing the spline ramp parameter, and employing random and noise functions, we’ll completely reshape our attribute values exactly how we want ‘em.

Lessons
1. Generating Distance and Mask Attributes
2.Transforming Points by Attribute Value
3. Animating the Attribute Values
4. Using a Ramp Parameter to Remap Attribute Values
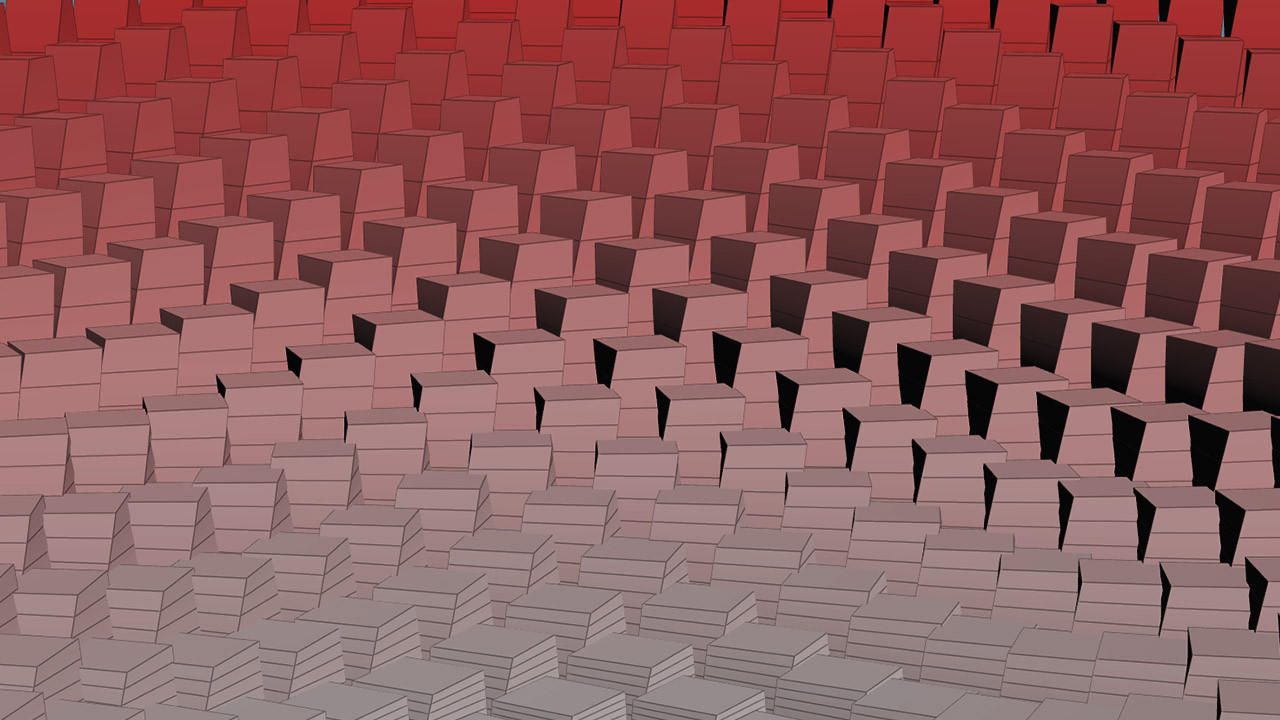
5. Extruding Primitives by Attribute Value
6. Using the Resample Node to Generate a CurveU Attribute
7. Bevelling Edges by Attribute Value
8. Modifying Attribute Values Using the Attribute Adjust Node
9. Reviewing the Workflow of Generating, Modifying and Using Attributes
9 Tutorials 48 Minutes
Section 04
The Case for VEX
VEX – it’s all anyone talks about. So what’s the big deal and why should you care? There are two main reasons and in this section we’ll focus on the first – speed and performance. We’ll teach you how to use and understand the performance monitor as we compare how VEX stacks up against factory installed operators and older workflows. So will we tell you to just use VEX for everything then? Nope. We’ll also show you where VEX can be the significantly slower option so you know where and when to go for something else.

Lessons
1. VEX Performance Comparison Setup
2. Using the Performance Monitor
3. Explaining the Results
3 Tutorials 15 Minutes
Section 05
VOPs – Running Over Components & Geometry Globals
Like always, this section is about helping you understand the crucial things you need to know and quickly. Grasping the concept of ‘running over’ or ‘looping over’ geometry components is number one on the list for working with VOPs – so let’s start there. A close second is understanding the difference between attributes and variables, so we’ll continue to unpack that great debate as we work our way through the outputs on the geometry VOP global node.

Lessons
1. Running Over Geometry Components
2. The Position Variable
3. Attribute Inputs & Outputs and Data Type Colours
4. Time Global Variables and Converting from Float to Vector
4 Tutorials 22 Minutes
Section 06
Moving Points, Retiming Values, and Scaling Over Time
Well this is exciting! It’s our first exercise putting your new VOPs knowledge into practice. It’s unlikely you’ll ever do a whole project in an attribute VOP. What you will do though is use VOPs to modify attribute values within a network of SOPs. So that’s exactly what we’ll be doing here as we use an image sequence to drive an animated displacement. Along the way we’ll introduce a handful of essential maths VOPs.

Lessons
1. Displacing Points Using a Texture Map
2. Isolating Colour Components and Computing Luminance
3. Retiming Attribute Values Using the Retime Node
4. Scaling Values Over Time
5. Clamping Values and Deleting Attributes
5 Tutorials 18 Minutes
Section 07
Visualising & Manipulating Vectors in VOPs - Direction & Magnitude
SOPs operate on geometry, VOPs operate on values. In this practical exercise we’re combining the concepts and theory you learned about vectors in Geometry Essentials 02 with your latest VOPs skills. You know a vector describes both magnitude and direction, but sometimes you want one without the other. We’ll make light work of this in VOPs as we colour geometry based on its velocity with accuracy and control.

Lessons
1. Visualising Attributes in VOPs
2. Using Velocity to Orientate Copies
3. Fitting Values to a New Range
4. Normalising Vectors & Computing Vector Length
4 Tutorials 18 Minutes
Section 08
Binding, Indexing & Identifying By Attribute
Binding attributes is a two-way street. You need to know how to import attributes into VOPs, as well as how to export those values back to the geometry. We’ll cover the bind node in detail to get you zipping around in no time! To really hit the highway, we’ll look at a practical way of using these new skills in combination with the indexing variables to identify and select specific geometry components.

Lessons
1. Binding Attributes Part 01
2. Binding Attributes Part 02 - Exporting
3. Indexing Variables Part 1: ptnum, primnum, vtxnum
4. Indexing Variables Part 2: numpt, numprim, numvxt
5. Adding Polygons by Point Attribute
6. Selecting and Splitting Geometry by Attribute
6 Tutorials 27 Minutes
Section 09
Indexing, Point Sorting & the 0-1 Range
You learned the theory, now let’s put it into practice. We’ll show you how to use index variables to do all sorts of things, like generate coordinates and get unruly points into place. While we’re at it, what’s all this fuss about outputting values in a 0–1 range? There’s good reason for setting things up this way and we’re here to get you on board, plus teach you two different methods to precisely scale geometry along the way.

Lessons
1. Using the Point Index to Generate a Curve U Coordinate
2.The Benefit of Working With Normalised 0-1 Values
3. Scaling Using the Match Size Node
4. Scaling to a Given Size Using the Transform Node
5. Point Sorting
6. Working With the Vertex Index
6 Tutorials 29 Minutes
Section 10
Controlling Banking & Working With Parameter VOPs
Imagine you’re riding your bike and you make a turn. Do you stay perfectly upright or do you lean into the curve? That tilting (AKA banking) is a crucial element in making animation feel realistic. Houdini handles this a little differently, so in this practical exercise we’ll use VOPs to create a banking control, paying special attention to the crucial role of parameter VOPs in providing and adjusting user input values.

Lessons
1. Using the Path Deform Node to Move Geometry Along a Curve
2. Measuring Curvature
3. Blending Vectors in VOPs
4. When and Why to use Parameter VOPs
5. Animating VOP Parameters
6. Naming, Labelling and Setting Parameter Defaults
7. The Importance of Naming Parameters
7 Tutorials 27 Minutes
Section 11
Displacement, Ramp Parameters & Noise
This practical section is stuffed to the gills with new VOPs know-how – like the Houdini way of displacing points along normals and how to add ramp parameters to your very own custom operators. But that’s just the beginning! We’re also introducing you to the principles of working with noise. It might feel random, but when you have a true grasp on how noise works and how to control it, you can be deliberate with the effects you create.

Lessons
1. The Displace Along Normal VOP
2. The Relative to Bounding Box VOP
3. The Ramp Parameter VOP
4. An Introduction to Noise
5. Promoting and Referencing VOP Parameters
6. Noise: Frequency and Offset
7. Noise: Fractal Parameters
8. Noise: Fractal Types
9. Noise: Remapping & Correcting the Output
9 Tutorials 45 Minutes
Section 12
Noise Versus Random
They say variety is the spice of life. We say the ability to automate variation is crucial in procedural workflows. A little less catchy, but no less true. Houdini’s noise and random functions help us do this in different ways. We’ll examine their technical differences and cover practical examples for each one – like using noise to create natural and organic distribution, and using random to avoid patterns and trends.

Lessons
1. Noise vs Random: Graphing the Outputs
2. Noise vs Random: Relationships and Trends
3. Noise vs Random: The Organic Nature of Noise
4. Noise vs Random: Comparing the Distribution Ranges
4 Tutorials 20 Minutes
Section 13
Distribution & Density
Strap in! It’s time for a new practical project. This one’s all about controlling the distribution of geometry across surfaces. These are the skills you need to craft realistic environments, like grassy fields, lush forests, or in our case, clumps of mushrooms. We’ll teach you how to combine random functions with point relaxing to get the ideal spread of clumped vs evenly spaced points, and how to create masks with attributes to dictate exactly where your points should and shouldn’t go.

Lessons
1. Exercise Intro & Scattering Points
2. Running Over Numbers & the Clumping Nature of the Random Function
3. Point Relaxing
4. Working with Point Density
5. Controlling Point Density with Attributes
5 Tutorials 25 Minutes
Coming Soon
Sections 13 & Beyond
Putting Attribute SOPs & VOPs to Work
Keep those eyes peeled and those brains at the ready – there’s more attribute SOPs & VOPs learning coming your way very soon! Purchase the course now to access new tutorials the second they’re ready.
Join our current course to start learning sooner!
Buy it now to get 40% off immediate access to all the content that’s already been released, as well as the new tutorials the second they’re live.

Buy Geometry Essentials 04
Early bird price
$149.99 $89.99
Lifetime access to full course – including
all sections yet to be released
Be the first to get new courses
New course updates straight to your inbox, along with special offers and discounts!