

Duration
4 hours 24 minutes

Contents
50 video tutorials

Instructor
Fraser Shiers

Software
Houdini 18

Searchable
Jump to the tool, technique or topic you’re after

Lifetime Access
Learn at your own pace, reference back whenever you need

Learning Paths
Part of the Houdini Made Easy series and Geometry Essentials Collection

Money Back Guarantee
We think you’ll love it, but for peace of mind – 15 days, no questions asked
What You’ll Learn
You learned a tonne of crucial theory in the previous Geometry Essentials courses. In this course we’ll teach you even more, but that’s not all. To help you learn in context, we’ll build a procedural system together, complete with project files to help you along. We’ll put the theory to work, teaching you how you can apply your newfound knowledge to real projects.
By the end of this course, you’ll have a deep understanding of:
- The difference between attributes and variables
- What the deal is with local and global variables
- How to access and reference the bounding box with parameter expressions
- How to use the normal and up attributes for precise control of orientation
- Resampling curves with accuracy using arc and chord length measurement methods
- Using the ray node to project geometry
- Customising tools with spare parameters
Course Syllabus
Let’s talk details
Section 01
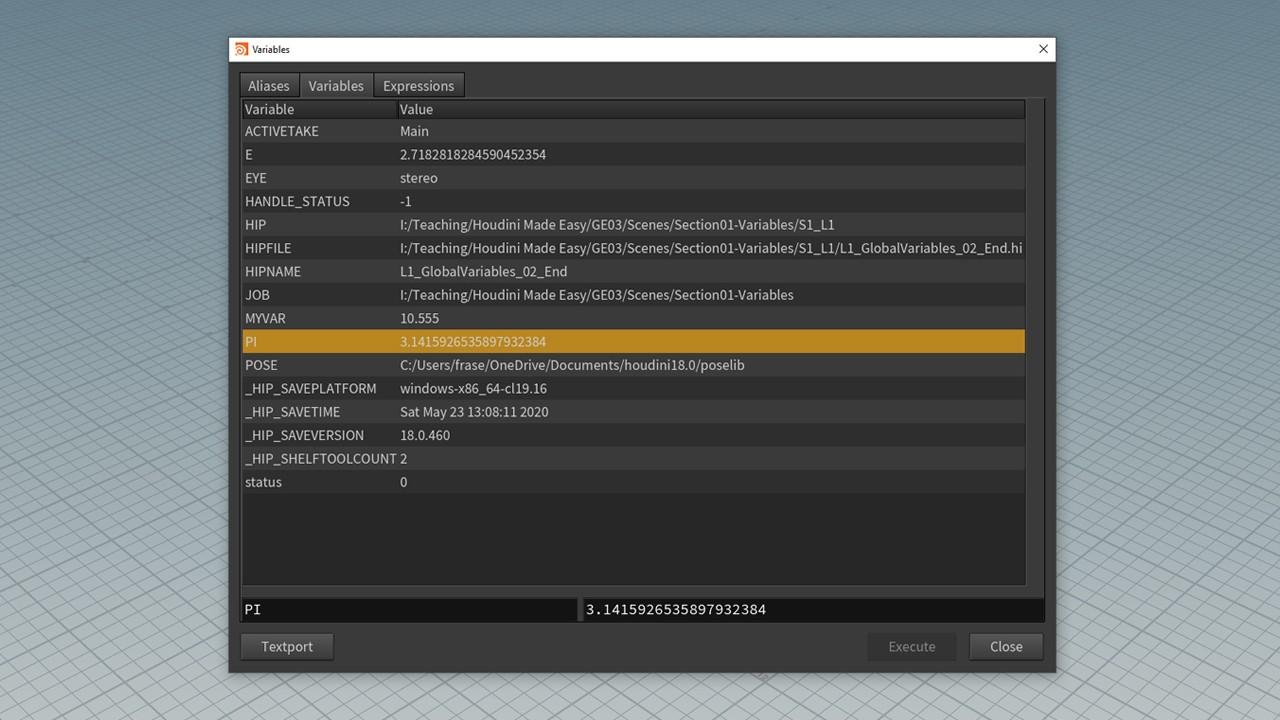
Local & Global Variables
Computer programming uses variables all over the place, and so does Houdini. If we think of Houdini as visual programming, then it starts to make sense why there’s so much overlap. In this first section, we’ll look at using variables in HScript to save time through automation. We’ll learn about global variables as a shorthand for constant and changing values that can be used far and wide throughout Houdini, and how local variables are (you guessed it) local to individual nodes.
Lessons
1. Global Variables as Shorthand for Constant Values
2. Global Variables - A Constant Name for Changing Values
3. Local Variables
4. Global & Local Variables in the Output Context
5. Local Variables Take Precedence Over Global Variables
5 Tutorials 29 Minutes
Section 02
Bounding Box Variables
We humans don’t like to be put in boxes, but Houdini loves doing it to geometry. You’ll work with bounding box variables constantly when you’re dealing with geometry, so let’s dig into the fundamentals of what the bounding box is, how we visualise it, and how we quickly view bounding box values. Then we’ll learn how to use local variables on the transform node to create simple, but crucial, procedural workflows.
Lessons
1. What exactly is the Bounding Box?
2. Min and Max Local Variables on the Transform Node
3. Transform Local Variables and the Match Size Node
4. Using Attributes and Local Variables in Parameter Expressions
5. Relative Bounding Using Local Variables
5 Tutorials 35 Minutes
Section 03
Referencing Parameters & Bounding Box Values
Put down your pen and pick up your mouse – we’re putting what you’ve learned into practice with a new project. In this first phase, we’ll teach you how to add crucial parameter expressions without having to actually write expressions at all, why positioning your geometry relative to the origin is such an important first step in procedural systems, and how a node that does nothing can be used to great effect.

Lessons
1. Project & System Overview
2. Channel References
3. HScript Bounding Box Expression
4. The Advantage of Referencing Nulls
5. The Importance of Positioning Geometry Relative to the Origin
6. Aligning with the Origin Using Match Size and Transform Nodes
7. Organising The Network
7 Tutorials 34 Minutes
Section 04
Understanding Orientation Along Curves
We’re marching on with our practical project and introducing a new, essential concept: how to master precise control of orientation when copying geometry to curves. Let’s face it, figuring out orientations in 3D space is confusing. We’re covering all the fundamentals (like curve tangency, up vectors and the up attribute) so you can orientate your geometry exactly as you need to, every time.

Lessons
1. Copying to First and Last Points
2. Using Polyframe to Orientate the Copied Geometry
3. Orientation Along Curve and the Order of Operations
4. Understanding the Up Vector
5. Computing and Controlling the Up Vector
6. Leveraging the Primary and Secondary Axis
7. Manipulating the Normal Attribute
7 Tutorials 38 Minutes
Section 05
Distributing with Precision
We’ve mastered orientation, now it’s time to talk distribution and spacing. In Houdini, we can make random effects with just basic knowledge, or even purely by accident! Deliberate control over our geometry is a different story, and far more useful. As we take our practical project to the next level, you’ll learn to control distribution along curves using resample length, tangent computation, as well as arc versus chord length measurement methods.

Lessons
1. Controlling Distribution Using the Resample Length
2. Tangent Type and Arc Length vs Chord Length Measurement Method
3. Justifying the Copy on the First Point
4. Justifying the Copy on the Last Point
4 Tutorials 20 Minutes
Section 06
Resampling & Raying
Strap yourself in, it’s time to go off road! Now that you can distribute geometry along a curve with laser precision, let’s kick things up a notch. In this practical section we’ll upgrade our system to handle elevation and any kind of terrain, thanks to our trusty allies the ray and resample nodes — two cornerstones of Houdini procedural workflows.

Lessons
1. Resampling the Planar Curve
2. Using the Ray Node to Deal with Elevation
3. Resampling Twice for Greater Precision
4. Raying Back onto the Input Curve
5. Ray Tolerance and Treating Polygons as Straight Edges
6. Maintaining the Last Vertex
6 Tutorials 30 Minutes
Section 07
Spare Parameters & Randomising Attributes
Customising factory nodes might sound like something only advanced users would do, but making your own tools is what Houdini is all about. Step into this brave new world by learning how to create your own parameters for ultimate control, then dial in some randomisation for just the right amount of chaos. Along the way, we’ll unpack even more features of the resample node, as well as put some key learnings from the last course into practice.

Lessons
1. Adding Spare Parameters to Nodes
2. Resampling by Polygon Edge
3. Adding Normals and Handling Attribute Mismatches
4. Randomising Scale and Position
5. Randomising Orientation
5 Tutorials 24 Minutes
Section 08
Putting it into Practice
It’s the final piece of the Geometry Essentials 03 puzzle! Let’s put our new system to work with a series of environment layout tasks. We’ll cover fresh concepts and techniques like creating curves from edge selections, using poly extrude to offset curves, creating spare parameters to iterate through variants, and a whole lot more. These are the practical skills you’ll use day in day out as a true Houdini artist.

Lessons
1. Environment Layout Tasks & Object Merge
2. Creating Curves from Edge Selections & the Output Node
3. Resample - Arc Length and Even Last Segment
4. Creating a Post & Rail Fence
5. Using the Sweep Node to Add the Rails
6. Using Normal & Up Attributes with the Sweep Node
7. Offsetting the Curve using the Poly Extrude Node
8. Poly Extrude - Extrude Along Edge Normal vs Front Transform
9. Using the Carve Node to Shorten the Curve
10. Using the Stacking System to Build Street Lamps
11. Distributing the Street Lamps
11 Tutorials 54 Minutes
Our Students Say It Best

"I've been using Houdini sporadically in my pipeline for years now, together with other tools, piecing together information from all kinds of sources over time – but this is the first time I am able to learn Houdini in a methodical and structured way. Thank you for that."
Achim Dietze
3D, Post Production & VFX Artist
"This is by the far, the BEST Houdini online training course I have ever seen. I continue to be blown away at the quality of these tutorials."
Cameron Skinner
Corporate Vice President, Azure IoT, Microsoft


Geometry Essentials
01+02+03
The Principles & Concepts Bundle
$249.97 $199.98
Save 20% by bundling three courses

Geometry Essentials
01+02+03+04+05+0+07+08
The Super Bundle
$634.92 $399.99
Save 30% by bundling eight courses
Need Hipflask for an entire team, studio or classroom?
Be the first to get new courses
New course updates straight to your inbox, along with special offers and discounts!